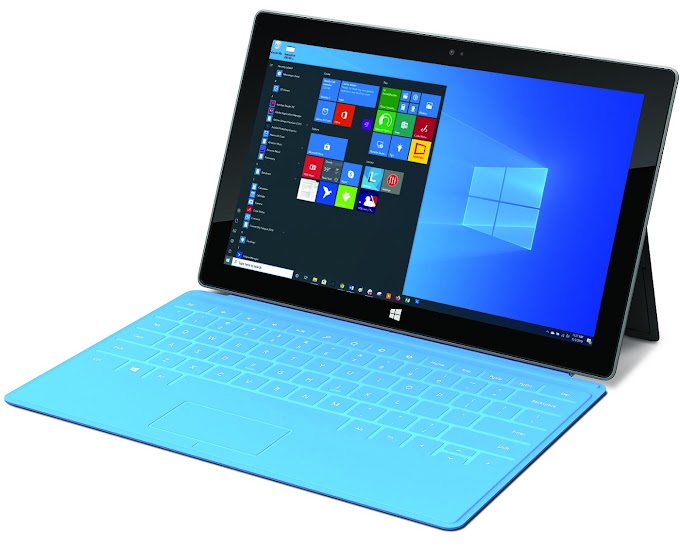
Install Android on your Microsoft Surface RT (UEFI)
Today we are looking something that a lot of peoble have been requesting, a tutorial on how to install android on the surface RT. This tutorial is for the UEFI version of Android which only uses 1 core of the CPU, in a future i will try to do a tutorial on the APX mode, that is more complex and require more knowledge to do. In this case we will install Android AOSP 7.1.2. I made this video in spanish about how to install it:
What we need
- A 8Gb USB (Try to use a USB 2.0 if you can).
- A 8GB Micro SD Card
- The android Image (You can find them HERE).
- Have Rufus installed.
- Have the Plug and Play Booting Tool for USB.
- Have the Secure Boot disabled Here you can find the steps (in Spanish, later i will translate this too)
Steps
First We should have made the steps 1 and 2 from this link to disable Secure Boot, right now that part is in spanish, in the future i will try to translate it too to english.
- Connect a Micro SD card to your computer
- Open Rufus
- Select the Android image, in this case we will use the Android AOSP 7.1.2 image
- Select the SD Card and click on start.
- Once rufus finished with the Micro SD card, take it out of yout computer and insert it on your Surface RT
- Next conect the USB to your PC
- Format the USB to Fat32
- Go to the Plug and Play Booting Tool for USB zip and uncompress its contents to the USB
- After that, connect the usb to your Surface RT
- Press Volume Down and the power button of your surface
- Once it has booted on your screen will appear a menu, select the Env USB option (If the USB does not Boot try to create a second empty FAT32 partition on it).
- Wait until Android boots, a surface with a troll face will appear o your screen and you will see a black screen for 2 to 5 minutes before android boots, the first time this is slow.
After all those steps you will have android running on your surface.


2 Comentarios
Excellent. Do you have any progress on using all 4 cores?
ResponderEliminarWe must to suspen bitloker for each rebot
ResponderEliminar